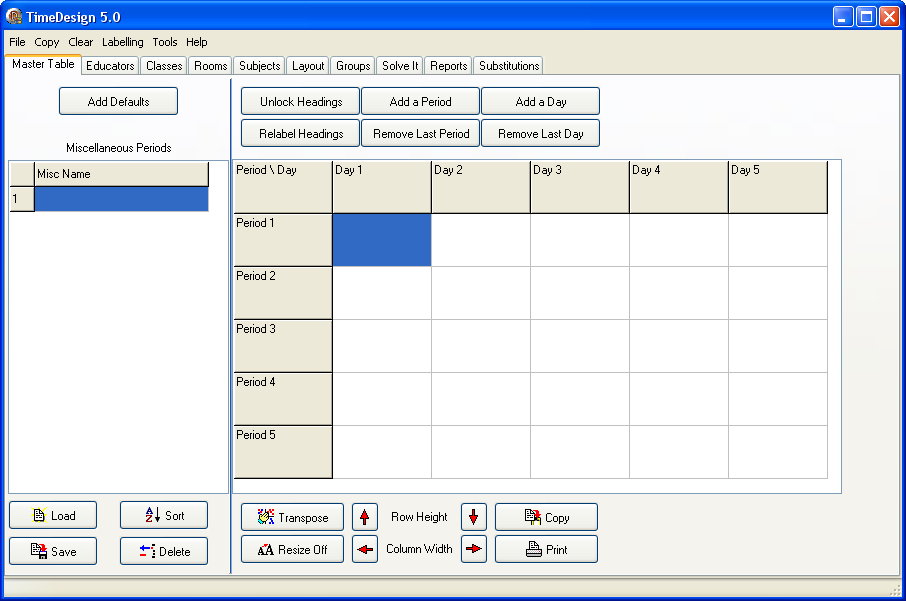
Upon start-up, you are presented with a screen like the one above. Enter any miscellaneous period descriptions that are not attached to any Educator or Subject i.e. Break, Assembly, Staff Meeting, etc.
This allows you to show a reason why certain periods are blocked in the appropriate timetable. Clicking on the 'Add Defaults' button will add Assembly, Break and Lunch as three miscellaneous items, you can then enter any more that you may need.
The next step is to add the required number of Days and Periods, click the appropriate buttons to add or remove days and periods as required.
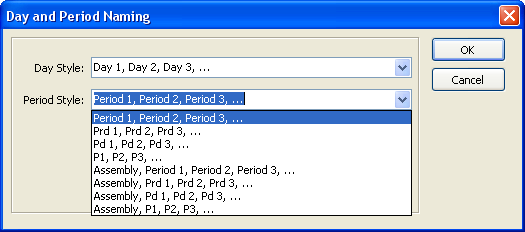
You have the option of letting TimeDesign automatically label these days and periods, simply click on the 'Relabel Headings' button and select your preferred style. You have the option of manually entering or editing the Headers by clicking on the 'Unlock Headings' button and changing the headings accordingly.
Next, select the periods in the grid by mouse, Right click for a pop-up Menu of your miscellaneous periods, and choose the one for the options. You may also 'block select' by dragging your mouse across the row or column before right clicking.
You also have the ability to allocate miscellaneous periods to classes, educators, rooms, subjects and groups on an individual level, for example, if an educator can only give classes in the morning until 10 am, you can create a miscellaneous period called 'reserved' and allocate this to the periods after 10 am for that educator.